Table of Contents
How to connect to GitHub with SSH
GitHub.com is the worlds largest Git repository hosting service for open source software. We will in this guide show how to generate and associate SSH keys with your GitHub account.
Account Registration
If you do not yet have an account at GitHub.com you will have to sign up for one here. It is completely free.
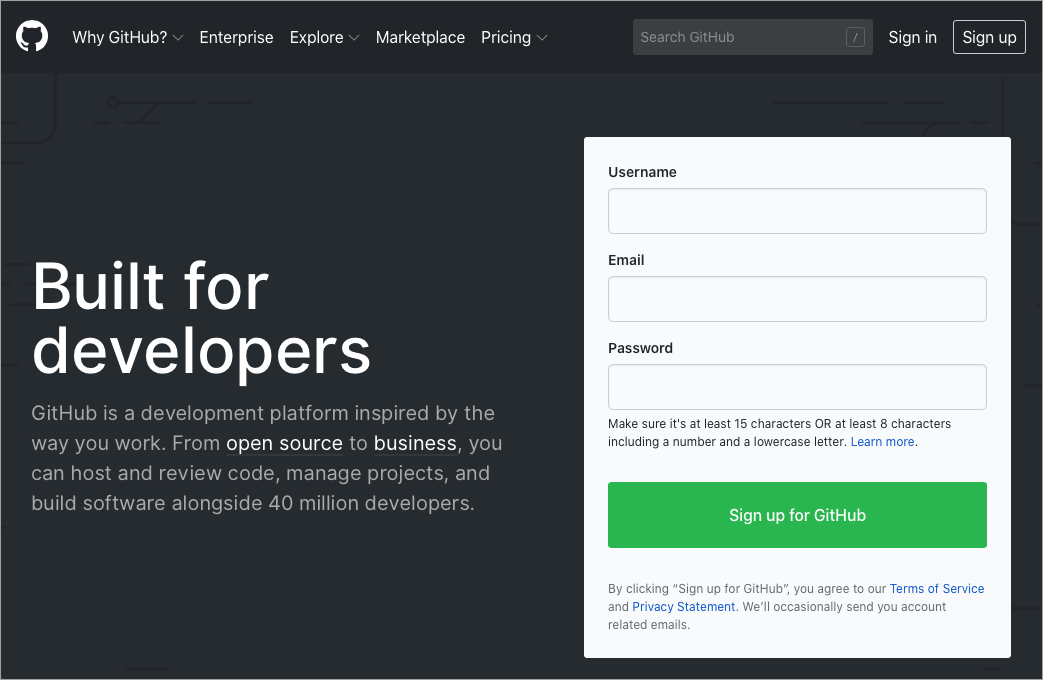
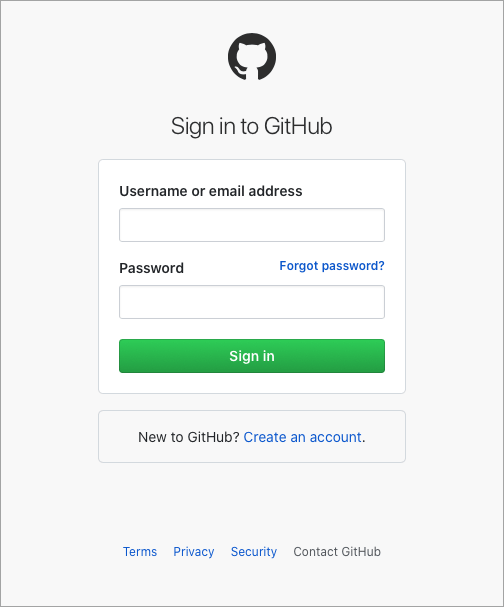
The registration process is very simple and requires no further explanation, but it is requirement to have a GitHub account in order to be able to follow this tutorial. Proceed to the login page once your account has been created.
Generating SSH keys
Before we generate the SSH keys we will need to check if any existing keys exist in our home directory. We can skip this step if the keys already exist.
Open a new Terminal.
Type the following command to confirm if any existing SSH keys are present.
$ ls -al ~/.ssh

-rw-r--r--   1 geek  staff    75 Dec 14 22:38 config
-rw-------   1 geek  staff  3434 Dec 14 21:34 id_rsa
-rw-r--r--   1 geek  staff   745 Dec 14 21:34 id_rsa.pub
If the above files exist you should be able to skip the next step and proceed directly to the section where SSH keys are added to your GitHub account. On the other hand, if no files exist, as seen below, you will have to read on.
ls: /Users/geek/.ssh: No such file or directory

or

total 0
drwxr-xr-x   2 geek  staff   64 14 Dec 20:33 .
drwxr-xr-x+ 27 geek  staff  864 14 Dec 20:33 ..
We will now generate the SSH keys. Type in the following command and substitute the example email address, your_email@example.com, with the one associated with your GitHub account.
$ ssh-keygen -t rsa -b 4096 -C your_email@example.com

Generating public/private rsa key pair.
When prompted for a file in which to save the key, simply hit Enter to accept the default location.
Enter file in which to save the key (/Users/geek/.ssh/id_rsa): You may also enter a password for additional security.
Enter passphrase (empty for no passphrase): [type your password]

Enter same passphrase again: [type your password]
A summary will be shown once the password has been saved.
Your identification has been saved in /Users/geek/.ssh/id_rsa.

Your public key has been saved in /Users/geek/.ssh/id_rsa.pub.

The key fingerprint is:
SHA256:XXXXXXXXXXXX your_email@example.com

The key's randomart image is:
+---[RSA 4096]----+
|            xx   |
|           x  xx |
|          x x xXX|
|           x XXxx|
|      x x x X xx |
| x X X x   x xxXX|
|xX  x   x x x xxx|
|   x   x x   xxxx|
|    xxxxX x x   x|
+----[SHA256]-----+
Adding keys to the ssh-agent
We will now start the ssh-agent, which is a program used to hold private keys for public key authentication.
$ eval "$(ssh-agent -s)"

Agent pid 2159
Once the ssh-agent is running in the background we can create (or modify) the ~/.ssh/config file to enable automatic loading of keys as well as storing of passwords in the keychain.
Open the file ~/.ssh/config in your favourite text editor.
$ nano ~/.ssh/configAdd the following lines to the file.
Host *
  AddKeysToAgent yes
  UseKeychain yes
  IdentityFile ~/.ssh/id_rsa
Alternatively, we can append the text directly from within the Terminal by typing the following command.
echo "Host *" >> ~/.ssh/config
echo "  AddKeysToAgent yes" >> ~/.ssh/config
echo "  UseKeychain yes" >> ~/.ssh/config
echo "  IdentityFile ~/.ssh/id_rsa" >> ~/.ssh/config
We are now ready to add our SSH private key to the ssh-agent and to store the password in the keychain.
$ ssh-add -K ~/.ssh/id_rsaIf you opted to use an SSH password in the previous step you will need to enter it again here.
Enter passphrase for /Users/geek/.ssh/id_rsa: [type your password] You will receive a confirmation once the key has been added.
Identity added: /Users/geek/.ssh/id_rsa (your_email@example.com)Adding the SSH key to our GitHub account
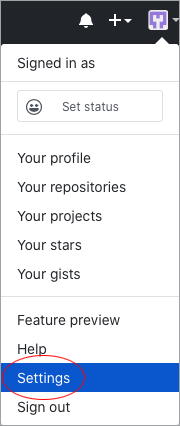
Let us return to GitHub.com’s website and select our profile picture in the upper-right corner of any page and click Settings.
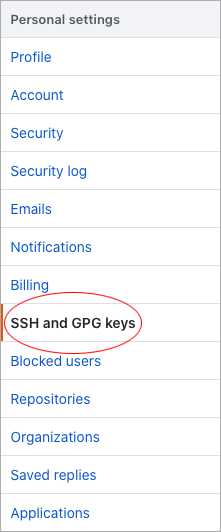
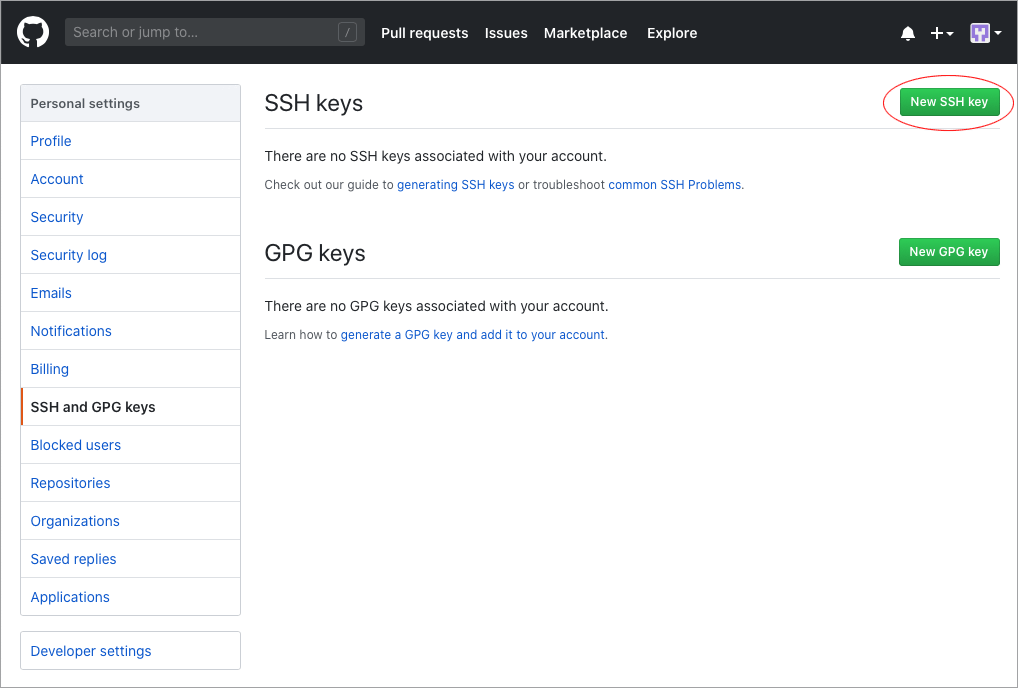
On the Settings page, select SSH and GPG keys in the left-hand menu.
Press the green button labelled New SSH Key in the upper-right corner of the SSH and GPG keys page.
We are now ready to copy and paste the SSH key into the input box below.
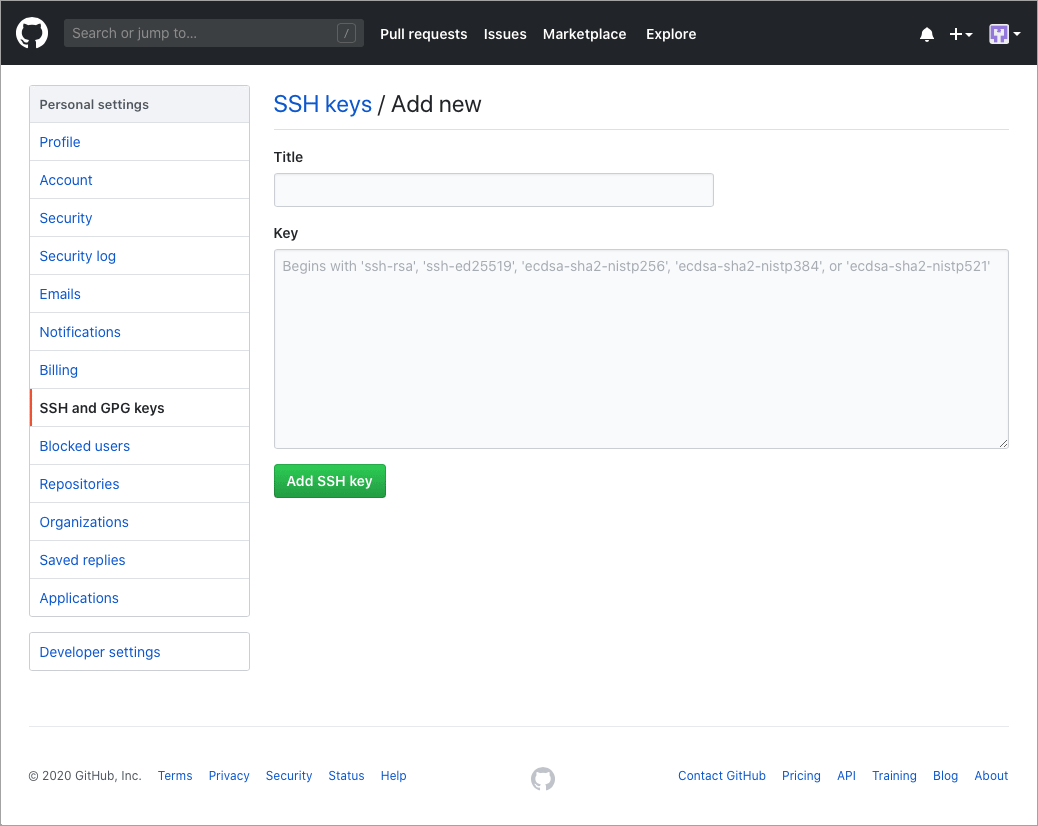
From a Terminal, type the following command to copy the SSH key into the clipboard.
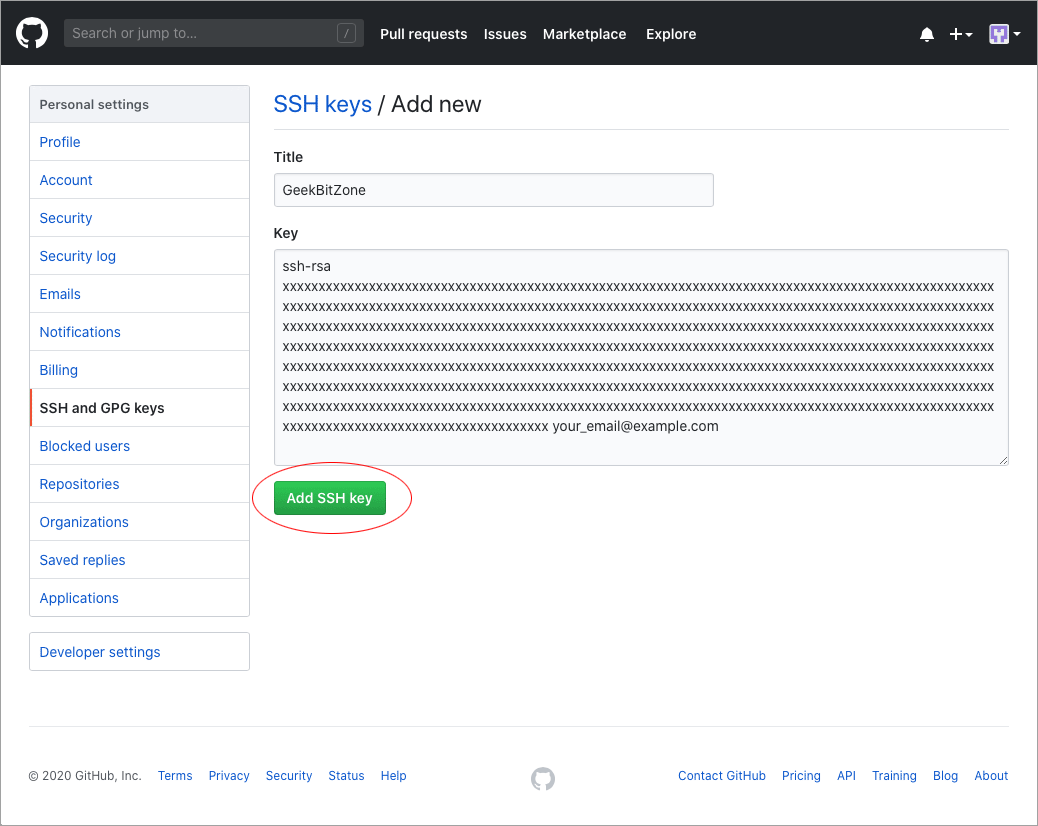
$ pbcopy < ~/.ssh/id_rsa.pubPaste the content of your clipboard under Key and provide an identifiable name under Title.
Press Add SSH Key once you are done.
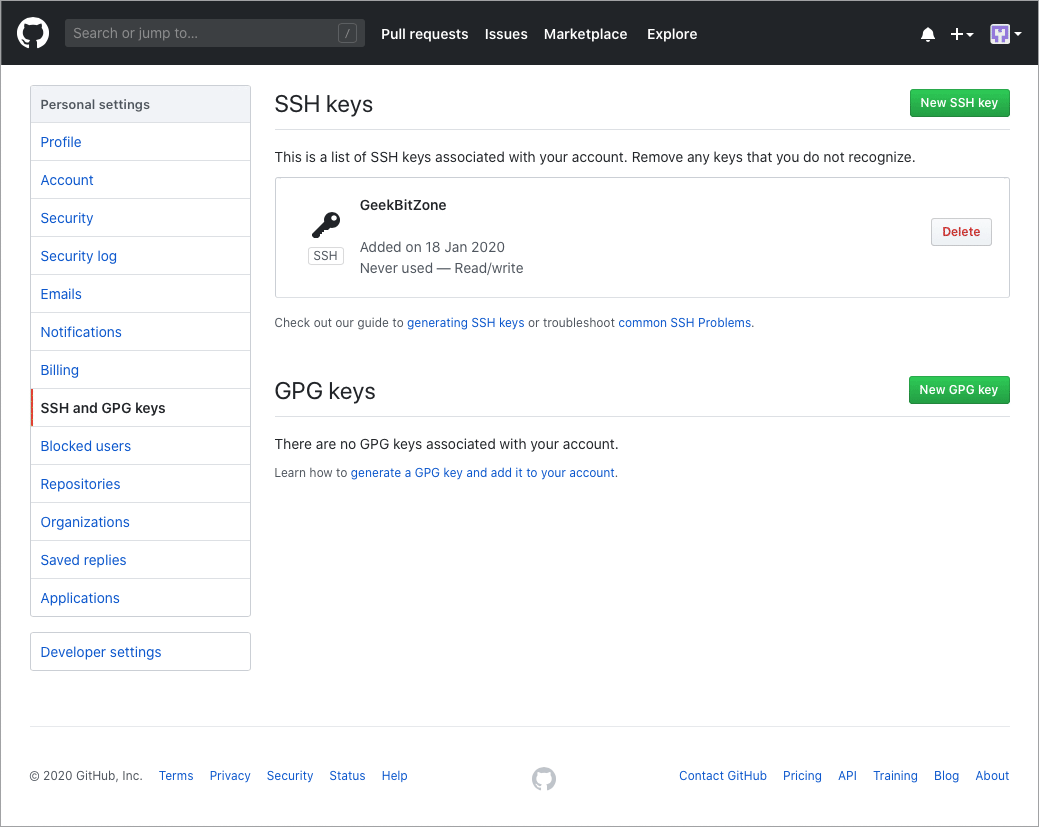
On the SSH and GPG keys page you should now see that the SSH key has been associated with your GitHub account.
Testing the SSH connection
Once the SSH key has been added we can test to see if the connection works correctly.
In a Terminal, type the following command:
$ ssh -T git@github.com

The authenticity of host 'github.com (xxx.xx.xxx.x)' can't be established.
RSA key fingerprint is SHA256:XXXXXXXXXXXXXXXXXXXXXXXXXXXXXXXXXXXXXXXXX.
Are you sure you want to continue connecting (yes/no)?
Type yes when prompted.
Upon successful connection you will see a message similar to the one below. Verify that your username and RSA key fingerprint matches the one you have stored on GitHub.
Warning: Permanently added 'github.com,xxx.xx.xxx.x' (RSA) to the list of known hosts.
Hi your_username! You've successfully authenticated, but GitHub does not provide shell access.
Your GitHub account and its credentials have now been setup.
Summary
GitHub is the worlds largest Git repository hosting service for open source software and this guide has shown how SSH keys can be generated and associated with your GitHub account.
This will enable you to access any of the 100 million repositories that currently exist on GitHub.
See Also

How to compile OpenEmu for macOS
How to install Gitk for macOS
10 Useful Git Commands

How to access a Plex Server behind CGNAT with ngrok

10 Influential Pixel Artists

How to Customise the Linux Bash Prompt
How to Merge and Rebase in Git

How to add new PDF compression filters for the Preview tool on Mac

How to create PDFs with the Preview tool on Mac

How to install Homebrew for Mac
comments powered by Disqus
See also
- How to compile OpenEmu for macOS
- How to install Gitk for macOS
- 10 Useful Git Commands
- How to access a Plex Server behind CGNAT with ngrok
- 10 Influential Pixel Artists
- How to Customise the Linux Bash Prompt
- How to Merge and Rebase in Git
- How to add new PDF compression filters for the Preview tool on Mac
- How to create PDFs with the Preview tool on Mac
- How to install Homebrew for Mac