Table of Contents
How to test the memory and to find the results on a Synology NAS
If you decide to upgrade the memory on a Synology Network Attached Storage (NAS) it can be wise to first test if the RAM modules are free from errors. This article will explain how you can easily test the memory and where to find results once the test has completed.
Downloading Synology Assistant
The first thing that you will need to do is download Synology Assistant from Synology’s Download Center.
Goto,
https://www.synology.com/en-uk/support/download
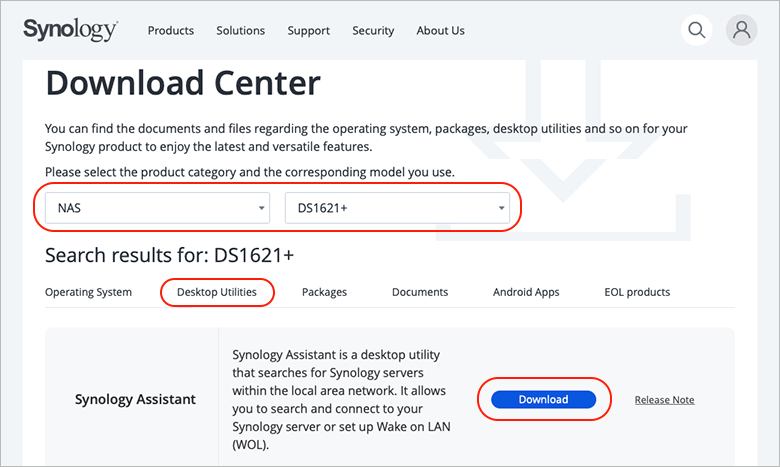
and pick your NAS model.
Once you have found your model, select the Desktop Utilities tab, locate Synology Assistant and press Download.
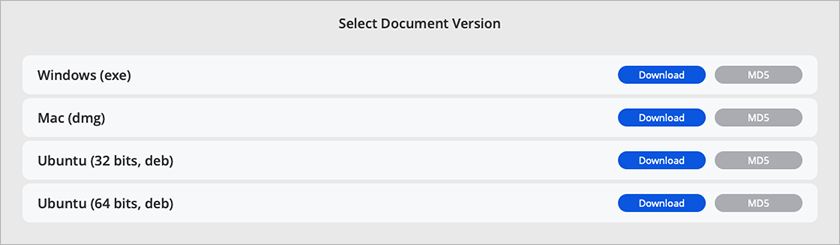
A window will pop up asking you to choose software platform. Pick the desired version and press Download.
Locate the software installer (usually in your Downloads folder) and start the installation process, which is self-explanatory.
Configuring Synology Assistant
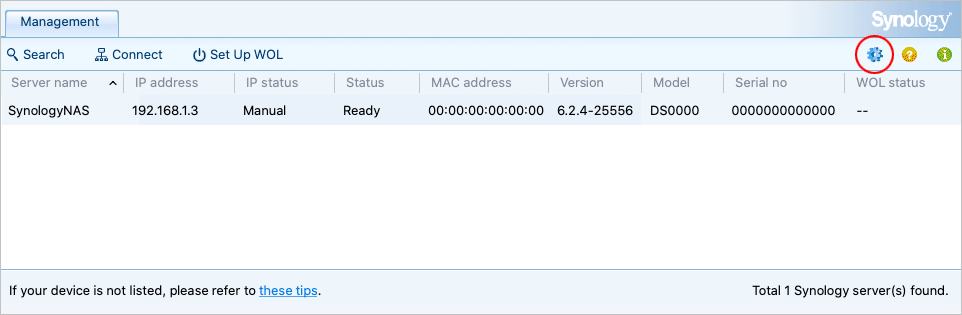
Once the installation has completed, open Synology Assistant from your operating system’s application launcher and wait a few seconds until the interface has been updated to list all available Synology devices on your local network.

Press the blue cog wheel icon in the right-hand corner of the main window to open the Preferences panel.
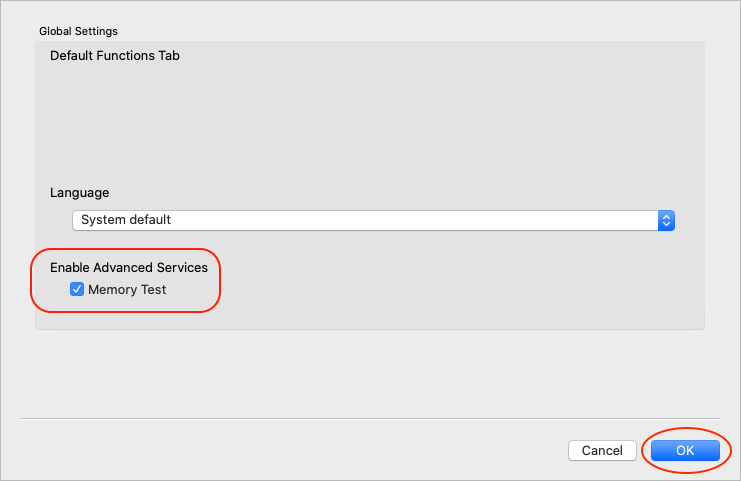
Under Enable Advanced Services, tick the Memory Test checkbox.
Press OK to close the window.
Starting the Memory Test
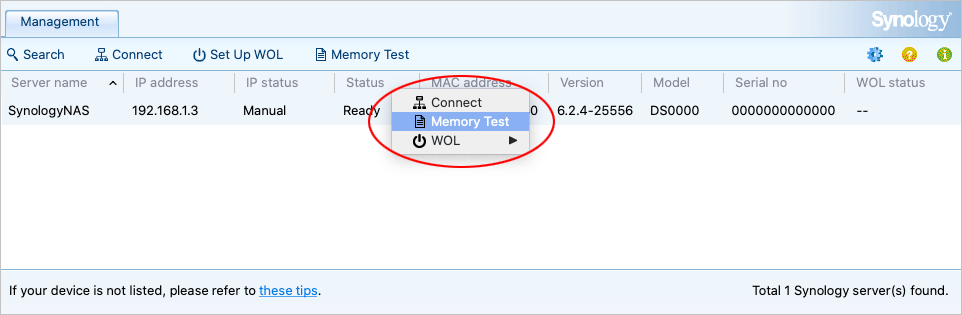
If you have more than one NAS on the network, select the appropriate device, right-click to bring up a pop-up menu and then press the Memory Test option.
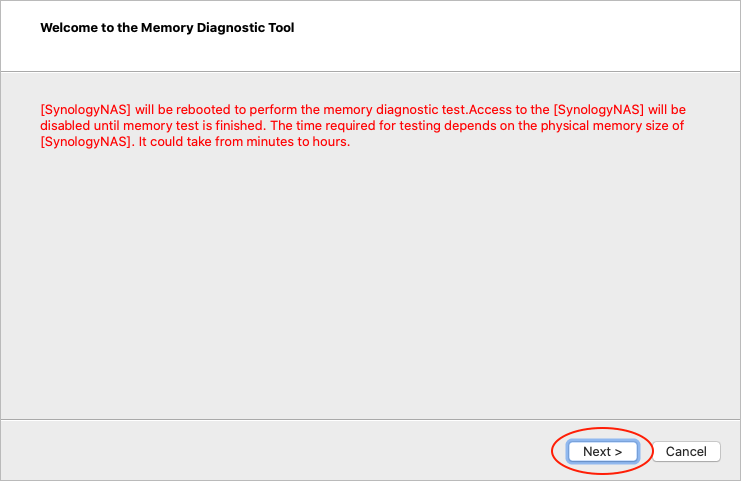
The Memory Diagnostic Tool window will explain that your NAS will be rebooted and that the test can take anywhere between minutes to hours depending on your system specs.
Press the Next button.
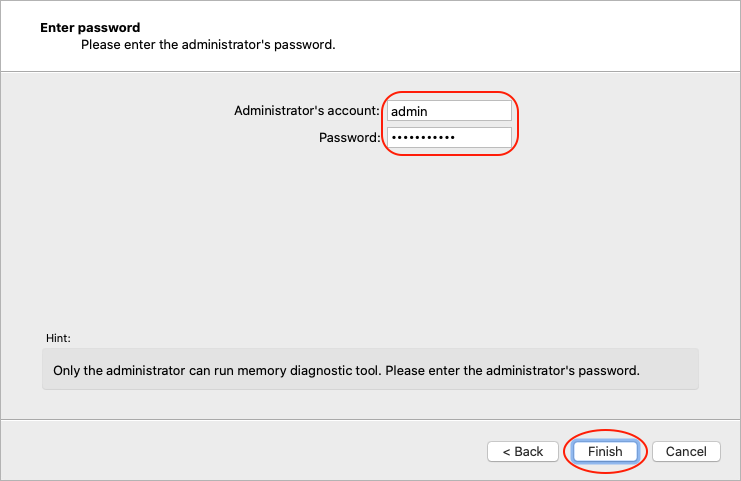
You will now be prompted to enter your administrator’s account username and password.
Press the Finish button the start the memory test.
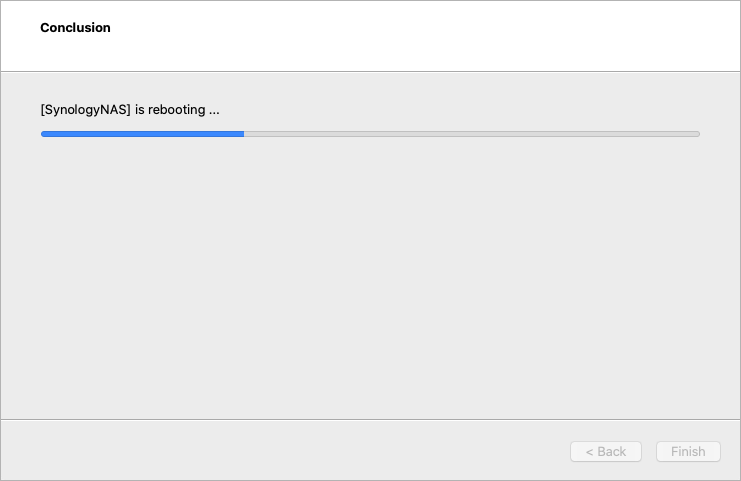
Standby while the NAS device reboots.
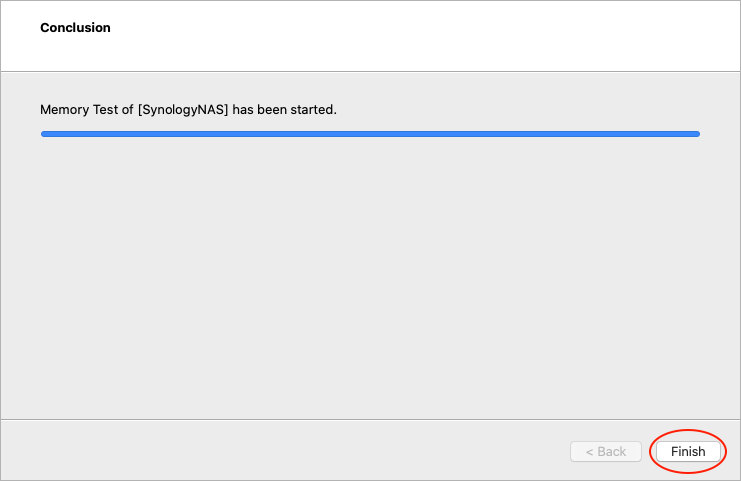
Once the NAS has been rebooted, the memory test will start.
Press Finish to close the window.
Under the Status tab of the main window, you can now see the progress of the memory test.
Please note that your NAS will be inaccessible during the test phase.
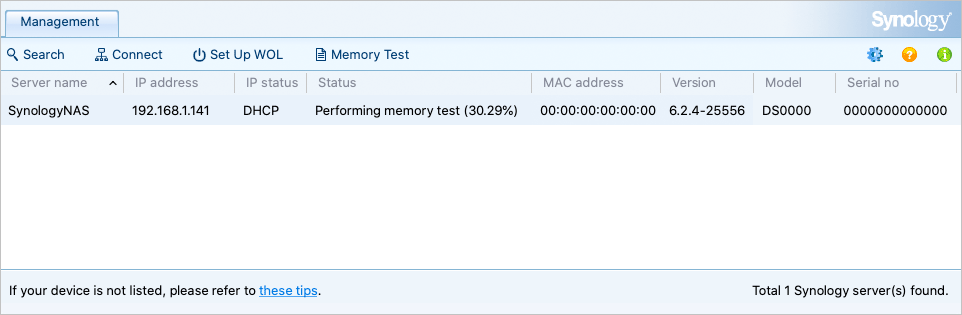
The system will reboot a second time and resume normal operation once it has completed the memory test.
Finding the results of the Memory Test
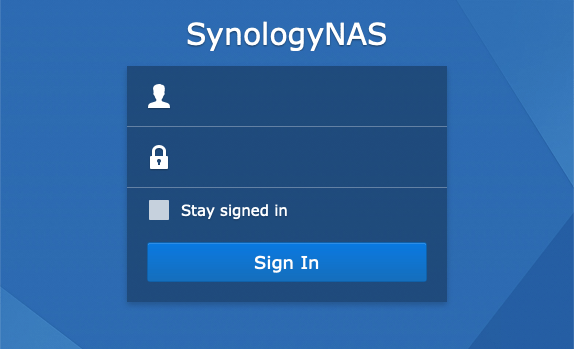
For unknown reason, the results of the memory test are never shown in the UI, but instead they are only accessible via
the terminal. If you have not yet enabled ssh, log in to Synology DSM by typing in your username and password
and then press the Sign In button.
Enabling ssh in Synology DSM
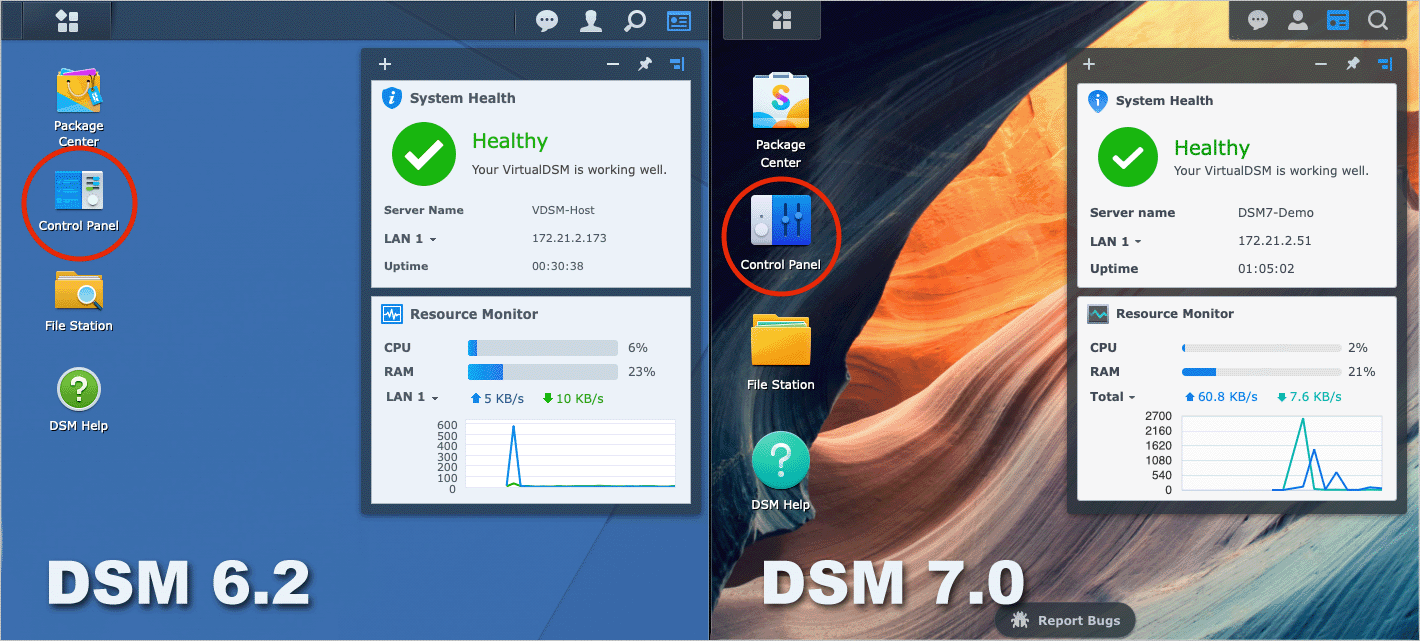
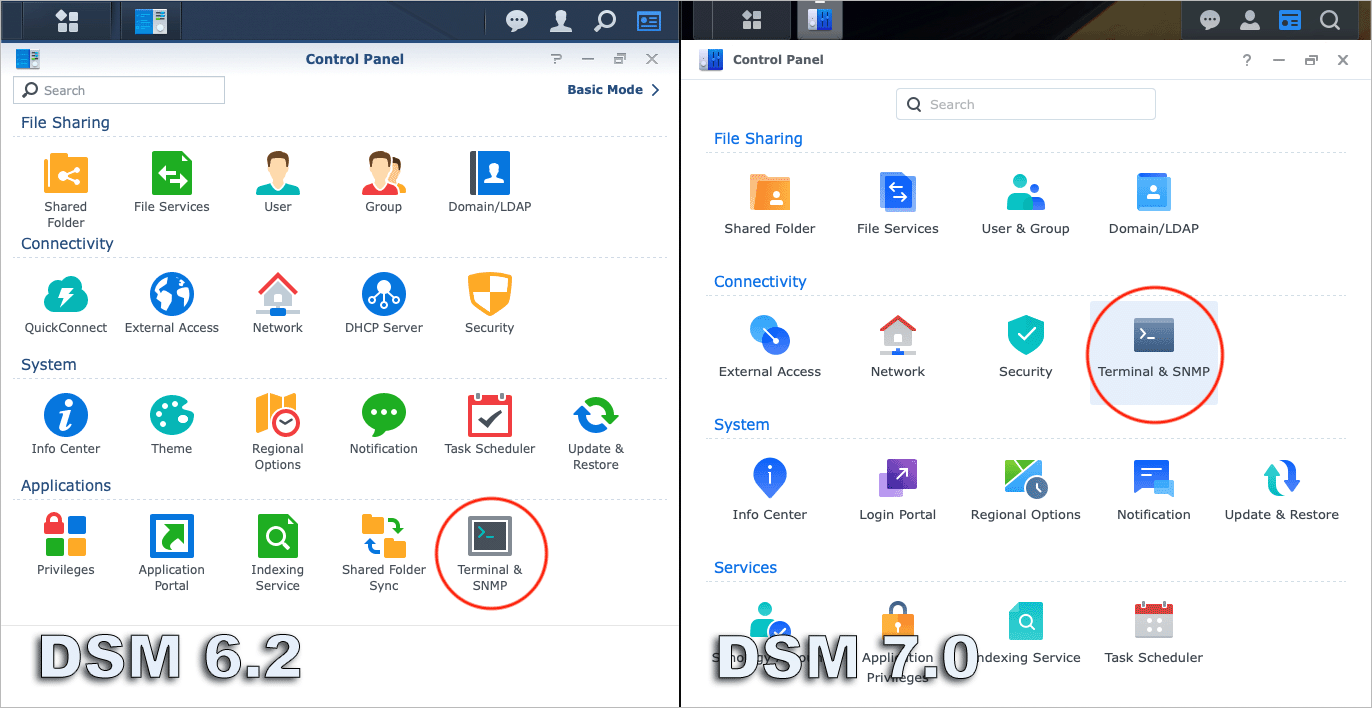
On the Synology DSM 6.2 or 7.0 desktop, open the Control Panel.
In the Control Panel window, select Terminal & SNMP.
In the Terminal & SNMP window, tick the Enable SSH Service checkbox.
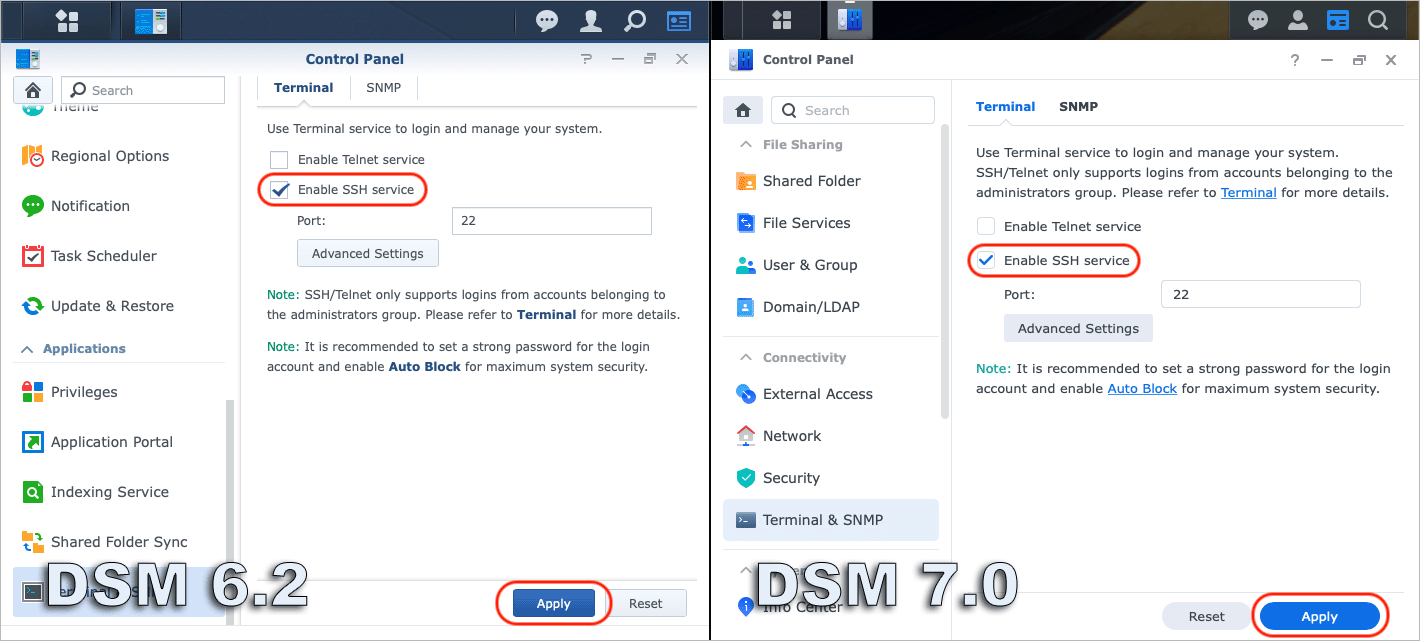
Press the Apply button to save the changes.
Logging in to the NAS via ssh
We are now ready to log in to the NAS via ssh. Find out the IP address of your NAS as well as which account has admin privileges. In our example, the IP address of the NAS is 192.168.1.3, and the username is geek.
In a new Terminal, type the following command:
ssh geek@192.168.1.3
Enter your password when prompted.
$ ssh geek@192.168.1.3
geek@192.168.1.3's password: ******
Once logged in, type the following command to see the results of the memory test:
sudo cat /var/log/messages | grep Memtest
Enter your password when prompted.
$ sudo cat /var/log/messages | grep Memtest
Password: ******

2021-05-31T16:57:11+01:00 SynologyNAS findhostd: util_fhost.c:1378 Memtest passed!
If you see the string, Memtest passed, you can be rest assured that the newly installed memory is working fine on your NAS.
Summary
This article has shown how you can easily test the memory on your Synology Network Attached Storage (NAS) and how you can find the results once the test has completed.
References
Synology.com
https://www.synology.com/
See Also
How to secure IOT devices with VLANs and firewall rules on an Ubiquiti EdgeRouter-X and a MikroTik switch running SwOS Lite
How to turn your Mac into an AirPrint server - for free
How to schedule tasks with crontab on macOS

How to install and configure Syncthing on the Mac

How to restart the Samba (SMB) file sharing service on macOS
How to enable case-sensitive file system support in PyCharm for macOS
How to disable Adobe Creative Cloud during startup on the Mac

How to mount external volumes in Docker
Which components can be upgraded on my Mac?

How to hide external disk drives from the desktop in macOS
comments powered by Disqus
See also
- How to secure IOT devices with VLANs and firewall rules on an Ubiquiti EdgeRouter-X and a MikroTik switch running SwOS Lite
- How to turn your Mac into an AirPrint server - for free
- How to schedule tasks with crontab on macOS
- How to install and configure Syncthing on the Mac
- How to restart the Samba (SMB) file sharing service on macOS
- How to enable case-sensitive file system support in PyCharm for macOS
- How to disable Adobe Creative Cloud during startup on the Mac
- How to mount external volumes in Docker
- Which components can be upgraded on my Mac?
- How to hide external disk drives from the desktop in macOS