Table of Contents
How to hide external disk drives from the desktop in macOS
To be able to hide certain disk drives from the desktop in macOS can be useful if you for example have an externally mounted backup drive which you do not want other people (or yourself) to see.
We will explain two ways how this can be done.
Hiding All Drives from the Desktop
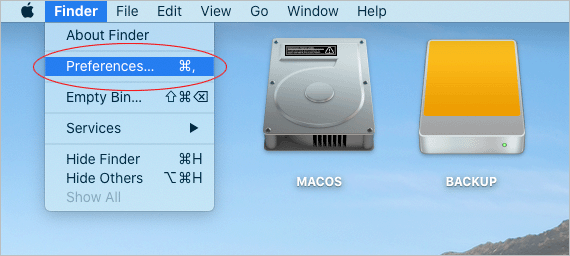
If you do not want to see any disks at all, simply go to the Desktop and select Finder > Preferences.
Under the General tab, uncheck External disks.
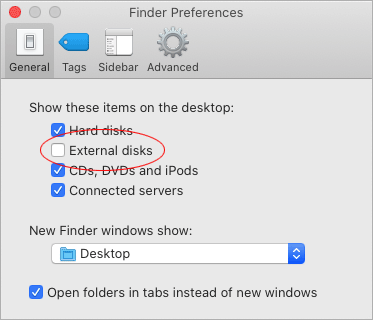
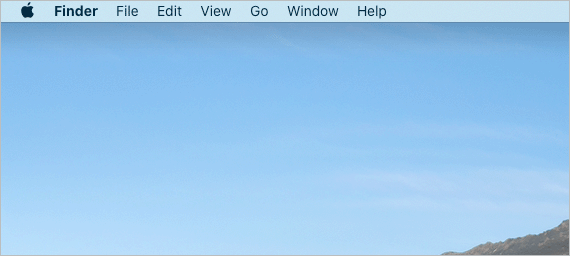
Voila! All disks have now disapperad from the desktop.
Hiding a Specific Drive from the Desktop
What if we do not want to hide the system disk, but only the external drive? This is where it gets tricky because currently there is no menu option that allows us to do that. Fortunately, many things can be tweaked under-the-hood via the command line and that is what we are going to do next.
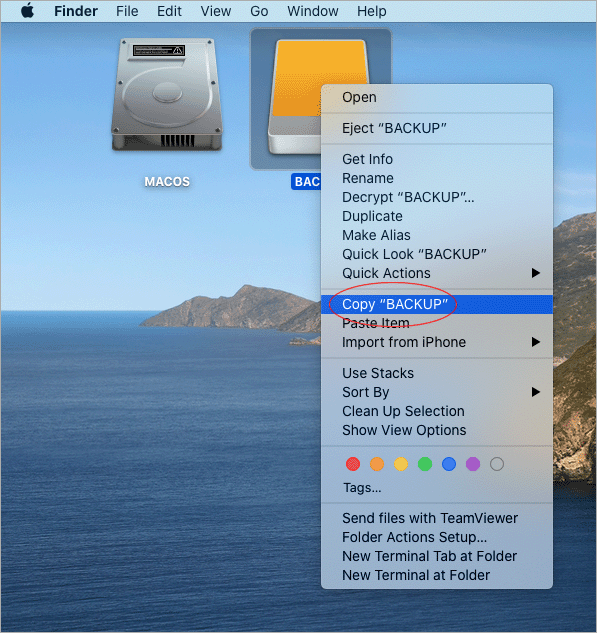
Let us first find out the exact file system path of the drive that we are planning to hide. We will just right-click on the disk and select Copy “«NAME OF DRIVE»”. In our case the drive’s name is BACKUP. Note, we are not actually copying the disk itself, but only it’s file path.
Let us now open a new Terminal window via the Launchpad or the Applications folder.
Hiding the Drive
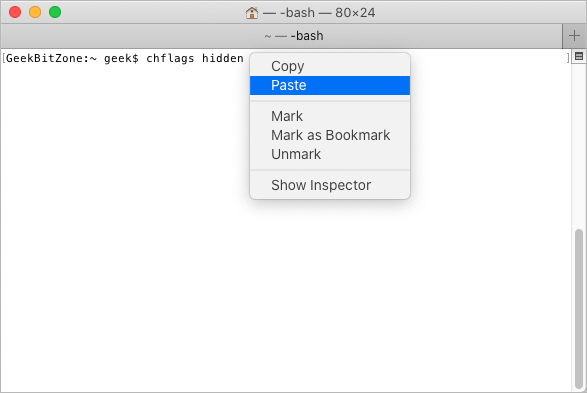
Start typing chflags hidden and then right-click and Paste your disk path at the end, as such:
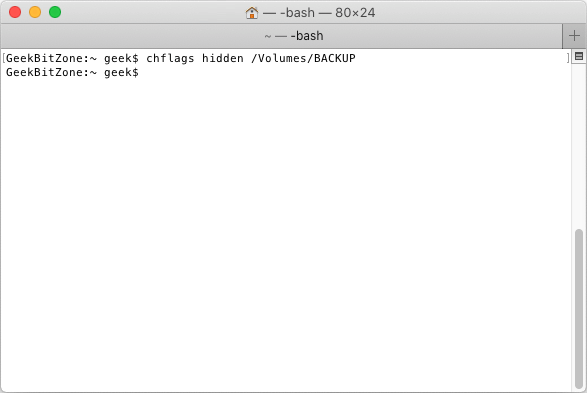
The complete command looks something like this.
chflags hidden /Volumes/NameOfDriveAnd here is what it looks like in the Terminal when we use our own drive path.
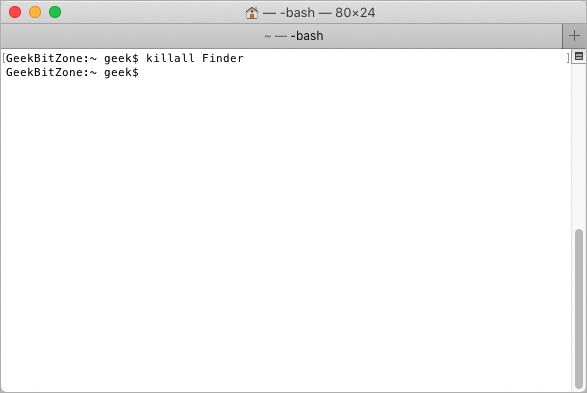
We now need to force refresh the Finder to pick up our changes. In a rather brutal way, we will go ahead and kill Finder. Don’t worry as he has a strong will to live and will instantly resurrect himself. Let us type:
killall FinderIn our Terminal window it should look like this.
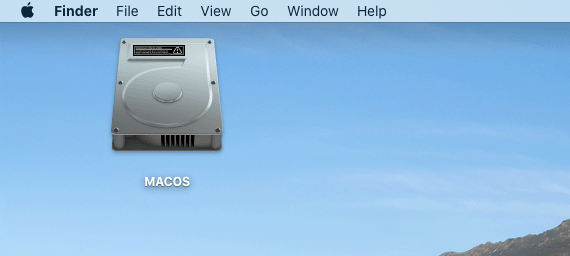
If we now return to the desktop we will see that only the system drive is present while the external disk has disappeared. The drive is still accessible via the Terminal and the Finder Sidebar, but just not on the desktop.
Unhiding The Drive
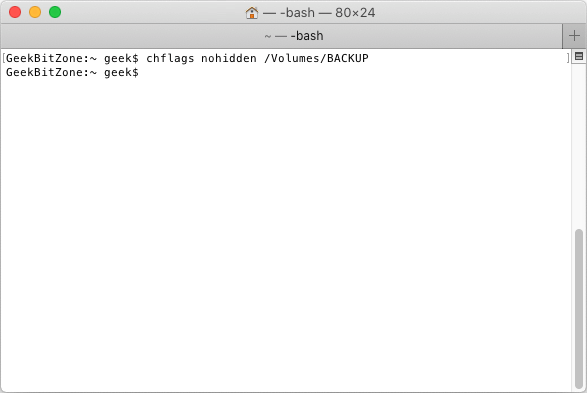
If we suddenly have a change of heart and want to restore our external drive we can write the following command.
chflags nohidden /Volumes/NameOfDriveAnd this is what it looks like in the Terminal when we use our own drive path.
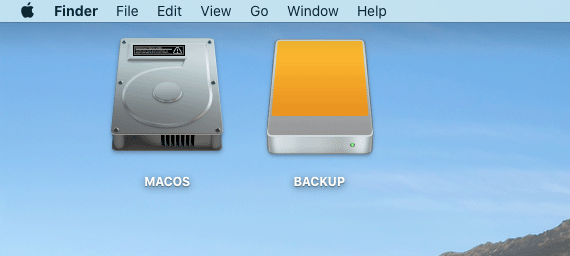
We also need to kill the poor Finder window again for the changes to take effect.
As if by magic, the external drive has once again been restored back to its original place.
Common Problems
You might encounter a few issues when running these commands.
If your disk label contains blank spaces you will have to surround the file name in quotation marks, like this.
chflags hidden "/Volumes/Name Of Drive"If you are not logged in as Administrator, but only as a Standard user, you will have to run sudo before issuing the command. You will be prompted for your admin password.
sudo chflags hidden "/Volumes/Name Of Drive"Summary
This guide has shown how you can hide certain disk drives from the desktop in macOS which can be useful if you for example have an externally mounted backup drive that you do not want other people (or yourself) to see.
Further information
For more information about the chflags command, visit the following pages.
See Also

How to upgrade rsync on macOS Catalina

How to change the startup programs in macOS

How to install Nextcloud on Mac with Docker

How to extend the lifespan of memory cards on the Raspberry Pi with Log2Ram

How to measure the network speed between two computers with iPerf

How to turn your Raspberry Pi into a Jukebox
How to connect to GitHub with SSH

How to compile OpenEmu for macOS
How to install Gitk for macOS
10 Useful Git Commands
comments powered by Disqus
See also
- How to upgrade rsync on macOS Catalina
- How to change the startup programs in macOS
- How to install Nextcloud on Mac with Docker
- How to extend the lifespan of memory cards on the Raspberry Pi with Log2Ram
- How to measure the network speed between two computers with iPerf
- How to turn your Raspberry Pi into a Jukebox
- How to connect to GitHub with SSH
- How to compile OpenEmu for macOS
- How to install Gitk for macOS
- 10 Useful Git Commands